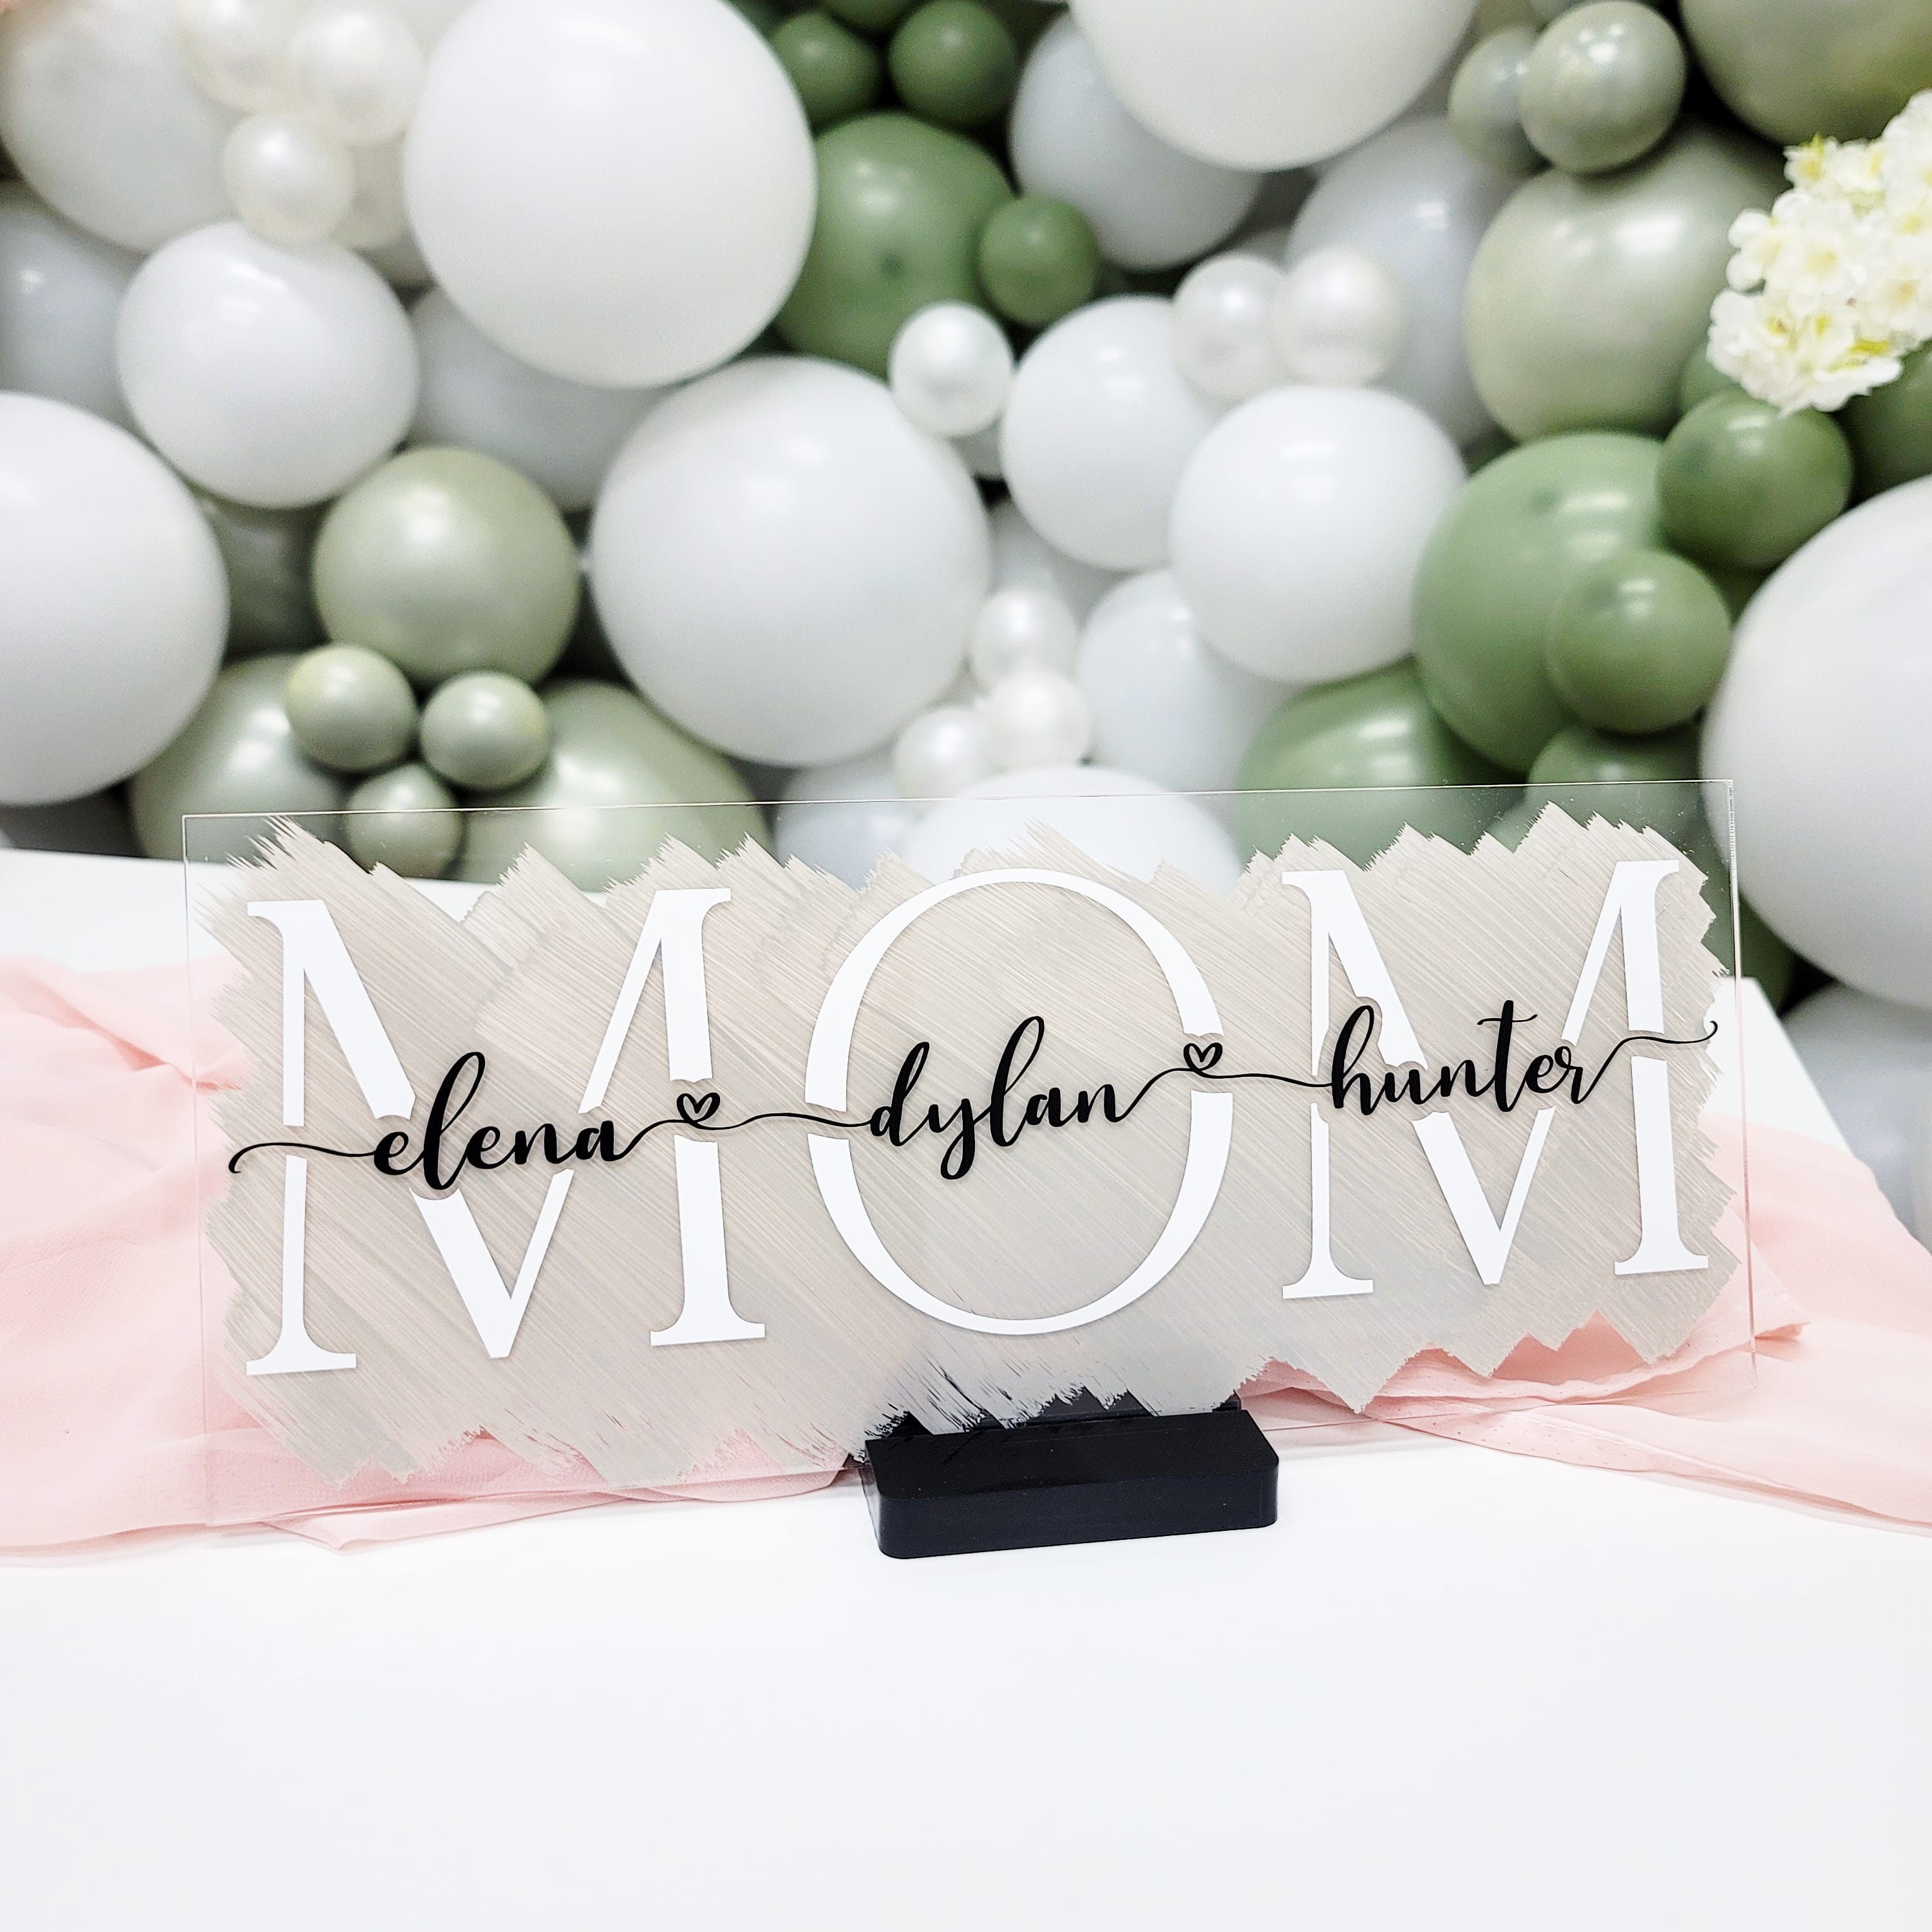
How I made a Mother's Day Plaque with Acrylic

Mothers day is just around the corner so let's start making our gifts before we procrastinate and end up buying her a gift card.
The method that we'll be using to make this design is called the "knock-out" method. It's much easier than it looks and luckily for you, I've created a Youtube video on the design process and a reel on the application process.
THINGS YOU'LL NEED:
- Clear Acrylic Sheet/Plaque with base - you can purchase ours here
- Two different coloured vinyl - I used matte white and matte black
- Transfer tape - I like to use medium tack
- Vinyl Cutter - Most popular is a cricut and for this tutorial we'll be using the cricut maker 3
- Scraper or squeegee
- Weeding Pen
- Acrylic Paint - I like to use Folk Art
- Paint Brush - could be bristles or sponge
1. You're going to create your design on design space. First thing I like to do is to create the shape of the item that I will be applying the design to so that I can gauge the size and see exactly how everything will look. The rectangle is 5 x 12" so size accordingly. I make the rectangle see through by changing it to pen so I can see the grid.
2. Choose a font for MOM and size it up to fit the 5 x 12" rectangle you just made.
3. The font I used for this project is called hello honey, its available for personal use only so if you'd like to create items to sell using this font, you will need to purchase the licensing for it. Type out all the names you want and change the font to hello honey. Depending on the computer you're using you will either have to go into your font book (MAC) or characters map (PC) to find the special characters you need to add the swashes to your design. You can see what I mean in the video.
4. Weld the text so it all becomes one piece.
5. Create an offset around the kids names. I personally like smaller offsets because I think it looks nicer but you will have less room for error. Choose a size that works for you.
6. Highlight the kids names and the offset. Group them and resize so that it fits nicely in between MOM. Once you get the right size, ungroup it and take the kids names out of the design.
7. Select the word MOM and the offset and hit slice on the bottom right hand corner of design space.
8. Delete the offset and you'll be left with the MOM but with the kids names cut out.
9. You put the kids names back into MOM and you'll see exactly what it should look like when cut.
10. Now its time to setup for the cut. You can cut the design out in any colour but I just think white and black look so good with any painted back.
11. Put the vinyl on your mat and make it.
12. Once the vinyl is cut you just need to use your weeding pen to weed out your design.
13. Layer the kids names onto the word MOM. This means you're going to put the transfer tape on the kids names first then you're going to take the same transfer tape and stick it onto the word MOM. You'll see this process in my reel.
14. I like to use a grid under my acrylics so I can line up the designs perfectly. Remember to remove the protective film from the acrylic before you use it. Lay the design onto the acrylic and use your squeegee to adhere it to the acrylic.
15. We're going to paint next. Lay down some cardboard or newspaper and just paint away. I wanted to do a brush stroke design so I just painted in one direction diagonally to get that design. You will need to do 2 or more coats depending on the colour and quality of the paint.
16. You can seal the paint to protect it from scratching off by applying modpodge to it. I didn't because this item is purely decorative and is not meant to be handled much.
If you want to see more tutorials like this, let me know!
Other articles:
Contact us
Address & Hours
6380 Tomken Road, Unit 10, Mississauga, ON, L5T 1Y4
Monday - Friday: 11am - 6pm
Saturday: 11am - 3pm
Sunday: CLOSED
Leave a comment: